
Are you dealing with a cracked or shattered iPhone screen? Accidents happen, and a damaged screen can be frustrating. However, there’s no need to panic or rush to the nearest repair shop just yet. With the right tools and a little patience, you can Repair an iPhone Screen yourself. In this comprehensive guide, we’ll walk you through the steps to successfully Repair an iPhone Screen, saving you time and money.
Get the Best Repair Service in UK
A cracked iPhone screen not only hampers the device’s functionality but can also be a safety hazard, as tiny glass shards can cause injury. Repairing the screen promptly is essential to ensure your iPhone remains fully functional and safe to use. By following the steps outlined in this guide, you’ll be able to replace the broken screen and restore your iPhone to its former glory.
Before you start the repair process, it’s crucial to prioritize safety. Make sure to power off your iPhone and disconnect it from any power sources. Additionally, wear safety goggles and gloves to protect yourself from any potential accidents or injuries. Taking these precautions will ensure a smooth and safe repair experience.
Before proceeding, ensure that you have all these tools readily available. You can find these tools either online or at local electronics stores.
Creating a suitable work environment is essential for a successful screen repair. Find a clean, well-lit, and clutter-free workspace where you can comfortably lay out all the tools and components. A flat surface, such as a desk or table, is ideal for this purpose. Gather all the tools and ensure you have adequate space to disassemble and reassemble your iPhone.
Get the Best Repair Service in UK
After installing the new screen, it’s crucial to test its functionality before fully reassembling your iPhone. Follow these steps to verify that the repair was successful:
In case you encounter any issues during the repair or if the screen doesn’t function properly after the replacement, here are a few troubleshooting tips:
Repairing your iPhone screen is an achievable task if you follow the steps outlined in this guide. By taking the necessary safety precautions, gathering the right tools, and carefully following the instructions, you can restore your iPhone’s screen and avoid costly repair services. Remember to work in a clean and organized space, take your time during the repair process, and test the functionality before completing the reassembly. With a little patience and effort, you’ll have your iPhone looking and functioning as good as new.
Subscribe for Newsletter

If you are coming from an iPhone 14 or older, the iPhone 17 is a genuine
Choosing the best screen protector UK isn’t as simple as picking the cheapest option on the
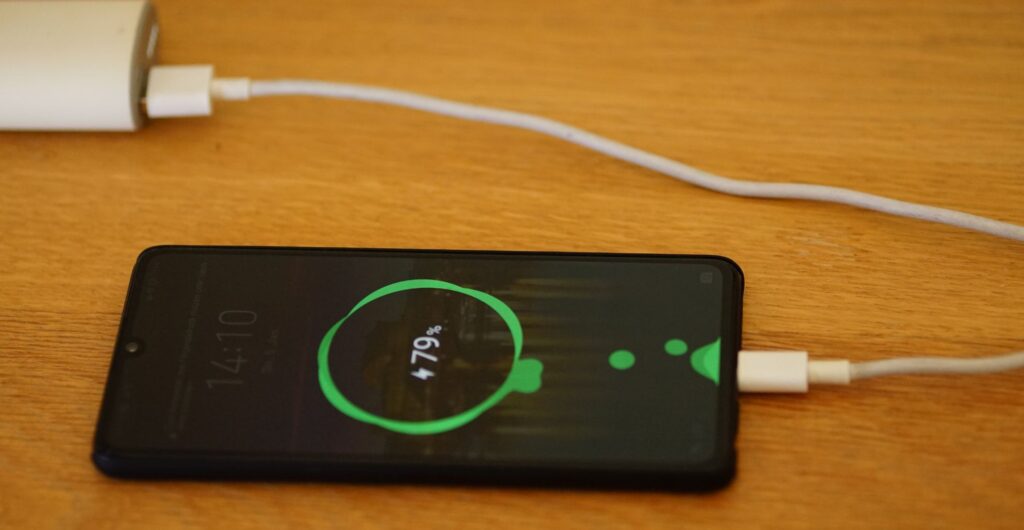
The Truth About Fast Charging is simpler than most people think. Modern smartphones are designed to

If you are weighing Refurbished vs Used Phones, here is the real-world difference in plain English:
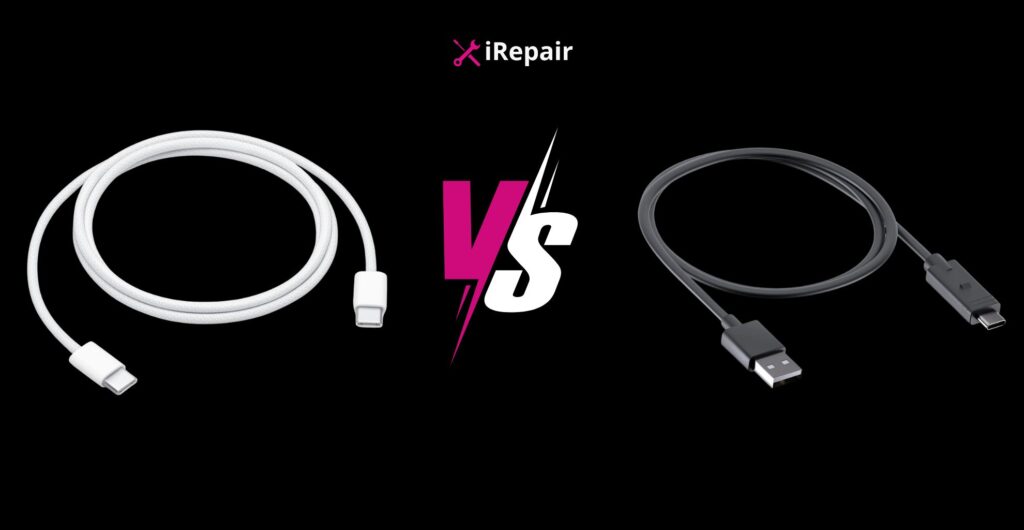
Choosing the best phone charging cable UK buyers can rely on is not just about grabbing

If you are using a used Samsung Galaxy S9 Plus, proper care makes the difference between


Leave a Reply